Making your own hair oil at home is a fantastic way to nourish and revitalize your hair naturally. Whether you’re looking to promote growth, reduce dandruff, or add shine, creating hair oil can be both easy and rewarding. Here’s a comprehensive guide on how to make hair oil at home.
Introduction to Hair Oiling
Hair oiling is a tradition with deep historical roots, often forgotten in modern times. Women worldwide have used oil to nourish their hair for centuries, seeing remarkable benefits. Today, we are experiencing a revival of this old wisdom, adapting it to fit our contemporary lifestyles. This practice doesn’t just leave hair feeling soft and looking shiny; it can also encourage growth, thickness, and overall hair health.
Historical Roots of Hair Oiling
In the past, hair oiling was a common practice across diverse cultures. From Victorian opera singers like Aline Vallandri to ancient Ayurvedic customs, oiled tresses have signaled health and beauty. These traditions have been passed down through generations, proving the timeless value of natural hair care.
Modern Revival and Benefits
Now, many are rediscovering the advantages of hair oiling. This surge can be linked to a broader interest in natural and sustainable living. Hair oiling can promote growth, combat dryness, and can even aid in preventing hair loss. Modern adaptations of hair oil recipes have been tailored to fit busy lives while maintaining the nurturing essence of the practice.
Key Herbs and Oils for Hair Growth

Creating your hair growth oil starts with selecting the right herbs and oils. They provide the essential nutrients needed for healthy hair. Here are some key ingredients to consider for your homemade hair oil.
Fenugreek Seeds and Their Benefits
Fenugreek seeds are a star player in hair care. They are rich in protein and iron, both key for hair growth. Their anti-inflammatory and antifungal properties can fight off scalp ailments. Studies show that these seeds enhance hair thickness too.
Henna’s Role in Hair Health
Henna isn’t just for body art; it’s a hair health booster. It battles dandruff, conditions the scalp, and may prevent greying. Although it’s a dye, when mixed in oil, henna won’t change your hair color.
The Power of Amla for Scalp and Hair
Amla, or Indian gooseberry, is packed with vitamin C and antioxidants. It both prevents hair loss and encourages growth. This superfruit has been used for centuries in Ayurvedic hair treatments.
Optional: The Potency of Neem Oil
Neem oil is your optional but highly recommended ingredient. It’s known for promoting hair growth and health. Its strong smell may be off-putting to some, which is why it’s optional. Neem oil tackles dandruff, moisturizes the scalp, and even wards off head lice.
Crafting Your Hair Oil at Home
The Base Oils: Coconut, Olive, and Castor
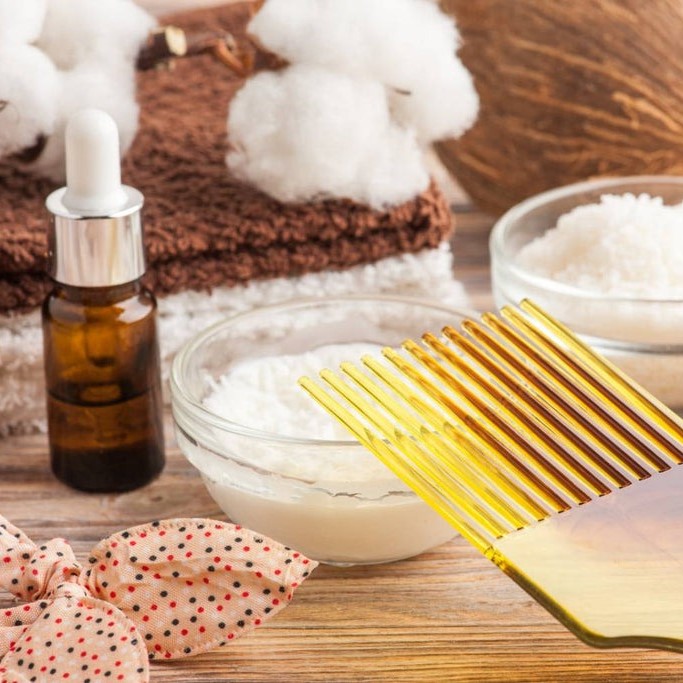
The first step in making hair oil at home is selecting the right base oil.When you set out to craft your own hair growth oil, the base oils you choose are crucial. Coconut oil is a must-have for its ability to penetrate the hair shaft and moisturize. Olive oil comes packed with antioxidants, supporting a healthy scalp environment. And castor oil, which is rich in ricinoleic acid, promotes better blood circulation to the follicles. You’ll want to mix these oils in balanced proportions to create an optimal blend for hair nourishment.
Preparing the Herbal Ingredients
Prepare your herbs for maximum effect. Fenugreek seeds can be freshly ground to release their potency. Henna powder and amla powder should be of high quality to ensure they deliver their full benefits. If using neem oil, remember it’s strong-smelling but very effective for hair health. The freshly ground herbs mix better with the base oils, allowing for a full infusion of their properties.
Adding High-Impact Essential Oils
Essential oils can take your hair oil to the next level. Rosemary essential oil boosts circulation and can enhance growth. Peppermint essential oil invigorates the scalp and awakens the senses. Lavender oil soothes, while tea tree oil offers its antimicrobial qualities. Just a few drops of these potent oils can significantly impact the overall effectiveness of your hair growth oil.
Step-by-Step Mixing Instructions
Creating your herbal hair oil involves precise proportions and blending methods. Let’s walk through the process from start to finish.
Measurements and Combining Ingredients
Start by measuring out your base oils. You need 3/4 cup of coconut oil, 3/4 cup of olive oil, and 1 tablespoon of castor oil. Melt the coconut oil gently if solid, then combine all oils in a large glass jar. Add 1/2 cup of freshly ground fenugreek seeds. Also, mix in 3 tablespoons each of henna and amla powder. If you’ve chosen to include neem oil, add 1 tablespoon. Mix these ingredients thoroughly to ensure an even distribution.
Infusion Period and Storage Tips
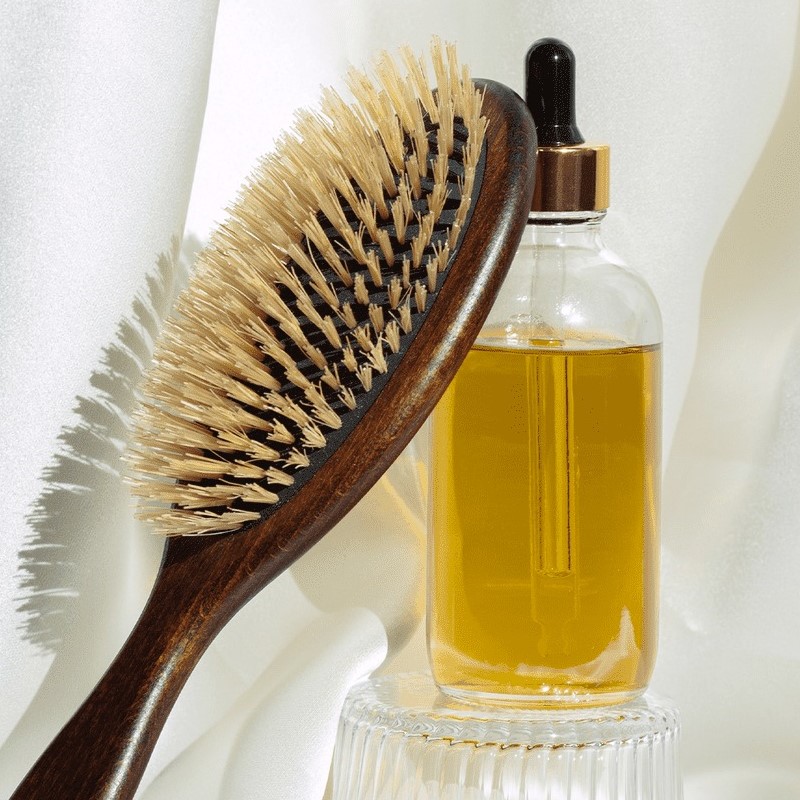
After mixing, seal the jar tightly and place it in a dark, cool place. Allow the oils and herbs to infuse for 1 to 3 weeks. This period is crucial for the properties of the herbs to fully blend into the base oils. Stir the oil mixture occasionally in the first few days to help the ingredients merge. After the infusion period, you don’t have to strain the oil; instead, carefully pour it into amber glass dropper bottles. These bottles will protect the oil from light, preserving its potency. Store this hair oil in a cool, dark place and aim to use it within six months for the best benefits.
Usage Tips for Optimal Results

Applying to Scalp and Hair
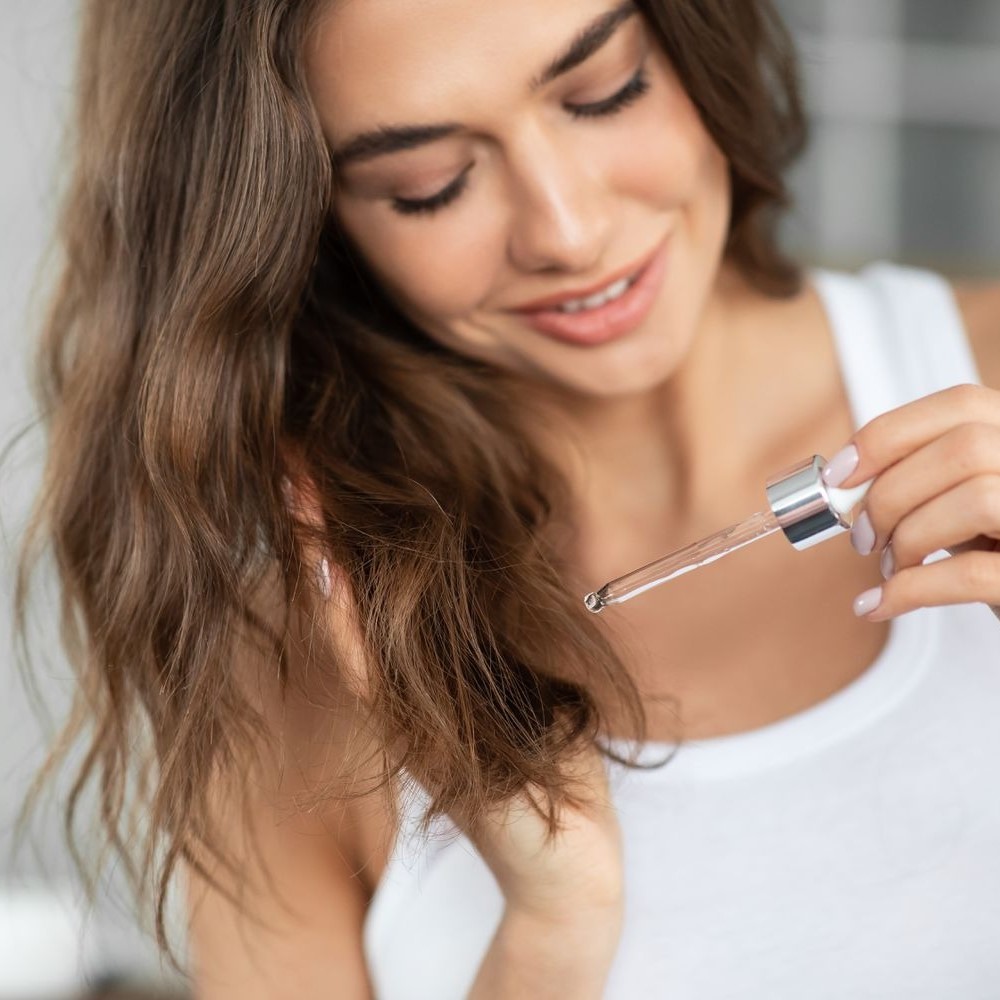
To achieve the best results, apply your homemade hair growth oil to your scalp and hair once a week, ideally the night before you plan to wash your hair. Start by sectioning your hair and using a dropper to apply the oil directly to the scalp. Ensure the oil distributes evenly by parting the hair in different areas. This method helps to cover the entire scalp without using too much oil.
After applying the oil to your scalp, you can also apply it along the length of your hair, or just on the ends, depending on your hair’s needs. This helps to fully coat each strand and maximize the benefits of the nutrients in the oil. Once applied, you might want to tie your hair up or braid it lightly to prevent oil transfer to bedding and to help the oil penetrate better.
Massage Techniques for Growth Stimulation
A proper massage technique enhances the effectiveness of your hair growth oil. Use the pads of your fingers to gently massage the oil into your scalp. This action should not be rough as it can tangle your hair. Instead, focus on making circular motions that lightly move the scalp. This stimulates blood flow to the hair follicles, promoting growth.
Pay special attention to areas where you might experience thinning or less growth. Massaging these areas can help encourage more hair activity. Additionally, integrating a gentle scalp massage into your routine promotes relaxation and helps reduce stress, which is also beneficial for hair growth.
By following these application and massage guidelines, you not only nourish your hair but also enhance its growth potential, leading to visibly fuller, healthier hair.
Aftercare and Washing Out the Oil
After oiling your hair, washing it out properly is key. Choose gentle cleansing methods to avoid stripping the natural oils. Use a mild shampoo or natural cleansers like apple cider vinegar or clay for a thorough cleanse.
Cleansing Methods for Oiled Hair
To remove the oil, start with warm water to open the hair cuticles. Apply a mild shampoo to your scalp, lather it up, and rinse thoroughly. Repeat if necessary. For a more natural approach, use a mixture of apple cider vinegar and water.
Frequency of Treatments for Best Outcomes
For the best hair growth results, apply the oil once a week. Consistent treatments help improve hair health over time. Adjust the frequency based on how your hair responds and what it needs.
Personal Success Stories

Testimonials of Hair Growth and Thickness
Many have seen amazing results with homemade hair oils. Users report thicker, longer hair after regular use. Stories include significant hair regrowth in once thinning areas. One user noted, ‘After six months, my bald spots filled in completely!’ These testimonials highlight how potent natural ingredients can be.
Adapting the Recipe to Individual Needs
Not every scalp is the same, and customization may be necessary. Some find adding more neem oil helps with severe dandruff. Others may reduce fenugreek seeds due to sensitivity. Adjusting the oil ratios can cater to different hair types, from dry to oily. Tailoring the oil to your specific needs can improve its effectiveness and comfort.
Conclusion and Final Thoughts
We’ve explored the remarkable benefits of crafting your own hair oil. This natural remedy has deep roots in traditional practices. With our modern twist, it fits perfectly into your daily routine. The process from choosing herbs and oils to application offers both hair health and a moment to reconnect with nature. Let’s make the most of these natural, effective methods.
Encouragement to Try at Home
I urge you to try making your own hair oil. It’s simple, cost-effective, and highly rewarding. With just a few key ingredients, you can transform your hair health. Follow the steps outlined in this blog and see the difference it makes. You can adjust recipes to suit your hair’s needs.
Sharing Results and Community Feedback
Once you try this, share your results! Let us learn and grow together. Your experience could inspire others and provide valuable feedback for improvements. Join the conversation on natural hair care. Let’s keep this age-old wisdom alive and thriving. Your journey could be the encouragement someone else needs to start theirs!
In conclusion, learning how to make hair oil at home is an enriching experience that not only provides nourishment for your hair but allows you to connect with the natural ingredients. By understanding the benefits, selecting the right oils, and using them effectively, you can transform your hair care routine into a spa-like experience. Enjoy the journey of discovering what works best for you and revel in the beauty of healthy hair!


